Managing the user session
Auth.js ships with lightweight utilities to help you manage the user’s session easily. Aside from built-in pages, which are themable or fully customisable, Auth.js does not come with any built-in styles.
You’re in charge of the building the UI for session management. Below we summarise some of the most common patterns for handling user sessions that you’ll need to build before shipping your app to production.
To signin your users, make sure you have at least one authentication method setup. You then need to build a button which will call the sign in function from your Auth.js framework package.
import { signIn } from "../../auth.ts"
export function SignIn() {
return (
<form
action={async () => {
"use server"
await signIn()
}}
>
<button type="submit">Sign in</button>
</form>
)
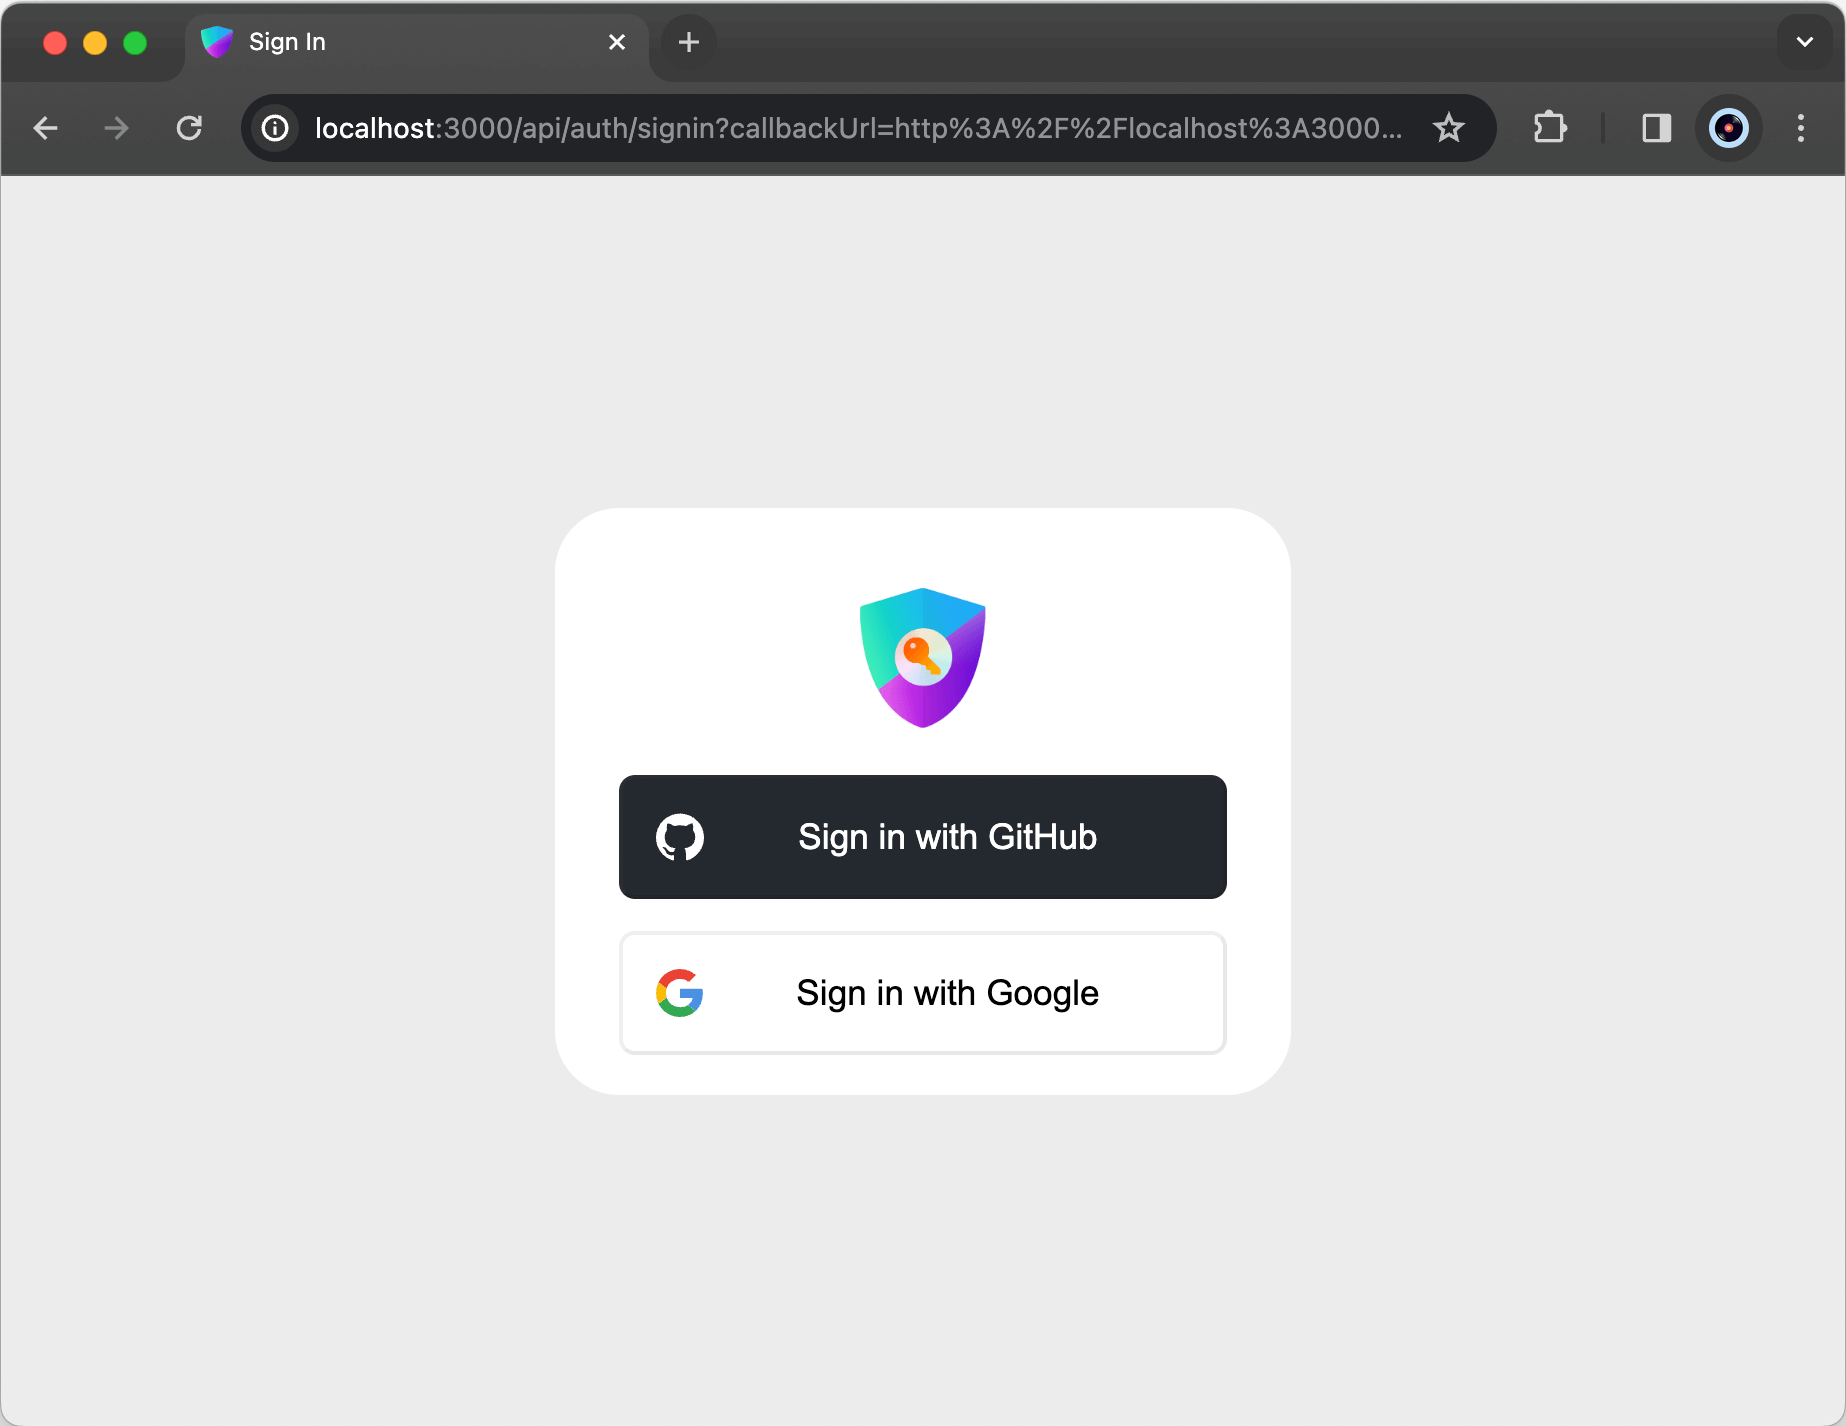
}You can also pass a provider to the signIn function which will attempt to login directly with that provider. Otherwise, when clicking this button in your application, the user will be redirected to the configured sign in page. If you did not setup a custom sign in page, the user will be redirected to /api/auth/signin, the sign in page Auth.js ships with. There the configured authentication methods will be displayed:
Once authenticated, the user will be redirected back to the page they started the signin from. If
you want the user to be redirected somewhere else after sign in (.i.e /dashboard), you can do so
by passing the target URL as redirectTo in the sign-in options.
import { signIn } from "../../auth.ts"

export function SignIn() {
  return (
    <form
      action={async () => {
        "use server"
        await signIn("github", { redirectTo: "/dashboard" })
      }}
    >
      <button type="submit">Sign in</button>
    </form>
  )
}
Signout
Signing out can be done similarly to signing in. Most frameworks offer both a client-side and server-side method for signing out as well.
To sign out users with a form action, you can build a button that calls the exported signout function from your Auth.js config.
import { signOut } from "../../auth.ts"

export function SignOut() {
  return (
    <form
      action={async () => {
        "use server"
        await signOut()
      }}
    >
      <button type="submit">Sign Out</button>
    </form>
  )
}Note that when signing out of an OAuth provider like GitHub in an Auth.js application, the user will not be signed out of GitHub elsewhere.
Once a user is logged in, you often want to get the session object in order to use the data in some way. A common use-case is to show their profile picture or display some other user information.
import { auth } from "../auth"

export default async function UserAvatar() {
  const session = await auth()

  if (!session.user) return null

  return (
    <div>
      <img src={session.user.img} alt="User Avatar" />
    </div>
  )
}
Protecting routes can be done generally by checking for the session and taking an action if an active session is not found, like redirecting the user to the login page or simply returning a 401: Unauthenticated response.
Pages
You can use the auth function returned from NextAuth() and exported from your auth.js configuration file to get the session object.
import { auth } from "@/auth"

export default async function Page() {
  const session = await auth()
  if (!session) return <div>Not authenticated</div>

  return (
    <div>
      <pre>{JSON.stringify(session, null, 2)}</pre>
    </div>
  )
}
API Routes
Protecting API routes in the various frameworks can also be done with the auth export.
In Next.js, you can use the auth function to wrap and API route handler. The request parameter will then have an auth key on it which you can check for a valid session.
import { auth } from "@/auth"
import { NextResponse } from "next/server"

export const GET = auth(function GET(req) {
  if (req.auth) return NextResponse.json(req.auth)
  return NextResponse.json({ message: "Not authenticated" }, { status: 401 })
})
Next.js Middleware
With Next.js 12+, the easiest way to protect a set of pages is using the middleware file. You can create a middleware.ts file in your root pages directory with the following contents.
export { auth as middleware } from "@/auth"You can also use the auth method as a wrapper if you’d like to implement more logic inside the middleware.
import { auth } from "./auth"

export default auth((req) => {
  if (!req.auth) {
    return NextResponse.redirect("/login")
  }
})
You can also use a regex to match multiple routes or you can negate certain routes in order to protect all remaining routes. The following example avoids running the middleware on paths such as the favicon or static images.
export const config = {
  matcher: ["/((?!api|_next/static|_next/image|favicon.ico).*)"],
}
Middleware will protect pages as defined by the matcher config export. For more details about the matcher, check out the Next.js docs.
You should not rely on middleware exclusively for authorization. Always ensure that the session is verified as close to your data fetching as possible.
Custom Pages
To enable custom pages add the following to your Auth.js configuration. In the pages object, the key is the type of page and the value is the path/route at which the page is located. Please make sure you actually have a page at the specified route.
import { NextAuth } from "next-auth"
import Github from "next-auth/providers/github"

// Define your configuration in a separate variable and pass it to NextAuth()
// This way we can also 'export const config' for use later
export const config = {
  providers: [Github],
  pages: {
    signin: "/login",
  },
}

export const { signIn, signOut, handle } = NextAuth(config)
To continue setting up the custom page, checkout our guide on custom pages.